Showing posts with label plans. Show all posts

Tuesday, September 28, 2010

The Grand Design

I've talked about it in pretty much all of the posts I've made before about the garden, but I haven't ever posted a picture of the design I'm seeing in my head. So today, I'm letting everyone in on the secret.


(BTW, I drew the outline based on the Google earth screenshot of my house, it's a little wonky but it's the right proportions)

It's a big picture, it's crowded with all kinds of little notes and circles. And then, it isn't fully complete either. In the backyard I'll have tons of two foot and smaller plants, most of which I didn't draw in. Even so, I look at and love it. I can't wait until we can finally take that first big trip to the nursery and start filling in the landscape. Sadly and happily, the contractors will soon be starting on the garage so we won't be able to do anything in the back for a while. But in the meantime, we'll start on the front, maybe this weekend! The only obstruction that will likely be there is the port-a-pottie... right where I want to plant a tree, sigh. It won't be much longer though, maybe a month and a half more of construction to get through and it'll all be done. By then, the rain will have started and it will be a great time for planting.

~~~~~~~~~~~~~~~~~~~~~~~~~~~~~~~~~~~~~~~~~~~~~~~

A Short Postscript

I know I only just posted a minute ago but having posted, I looked down at my previous one and thought it made me look like I kinda don't know anything about pruning.... heh. I had posted this picture of my newly dwarfed Hibiscus.


But while I still haven't found the time to get out my pruning saw and clean it up, you have to see the disgusting plant I was dealing with. (Why did I forget to take before pictures!)


Now that is a nightmare created by bad pruning. Also, possibly termites because I found some oddly light branches - over an inch thick but weighing less than a small newspaper. So that first picture is the result of a long hour going through that bush and carting away the bits. I'm quite decided now that I'll cut the old branches farther down but I'm going to wait until it has a few more leaves. When I stopped before, I was pretty much thinking that I didn't want to completely defoliate it (and I was so tired).

Monday, August 16, 2010

After the Move

So we've been in the house now for just over two weeks and have been able to use our three weekends so far to bring a bit of order to the inside of the house. The outside may still have a lot of construction materials and a very bad looking propped up porch roof, but the inside is organized. (mostly).

Here is our living room the best looking area of the house at the moment. It looks much smaller and more crowded than it really is, partly because I wanted to have the sofas facing each other but not blocking the dining room entry. I really need to get a nice fish eye lens for my camera so it can look like we're living in a mansion. But it really does look smaller than it is.


And here is the beautifully refinished floor that I told you about. So many great lines and colors throughout the wood, it's the exact texture and color I would have wanted if I could have chosen new floors.


And here is the old old heater (or do you call it a furnace maybe?) in between the living and dining room. It may look its age and have a bit of paint on it from the previous owners poor painting jobs but it actually works. Without any modification. Although you do have to use a pair of pliers to turn it on because while there probably was a knob connected to it once, it certainly isn't there now. That goes on the search list - after all, it's an interesting piece and it will look nice once we clean it and paint it a nice nearly black color. Not to mention, best make it look nice and functional as it would cost thousands to remove it.


Here you see the living room from the dining room (bit of bad lighting in the picture, it's not so yellow). I'll agree with Patrick here that the sofa does not look good from this angle, blocking the passage, but it's the best place we can put it. Eventually we'll get a nice comfy chair for that corner and get rid of the loveseat. The blur around the light from the window shows our cheap one dollar shades from home depot. They really don't look bad. Certainly better than some pictures I've seen with sheets pinned up over the window. Once we repair the cracks in the walls and repaint, we'll chose curtains to go with the new colors.

Now, I won't show you another angle of the dining room because, really, there's nothing more to see except the still badly finished built-in and Patrick's messy electric piano.


The bathroom, however, is coming along - compared to the gutted hole from before. We have all the necessities - which is nice as I swore when I first saw that port-a-pottie in our yard that I would never use it. We have our brand-new clawfoot tub (in the end, after looking everywhere the only reasonable option - and easily the cheapest - was to buy new). You can see our beautiful tile and the old mats from our condo bathroom. You might also be able to see the gaping hole in the wall. That is where the previous owners had a toilet roll holder - our contractor removed it but I guess it took the wall with it. We want to eventually take off the remaining bead board and put up new stuff with a better technique. The other guys just tacked in up and left nail heads visible everywhere. It seems so stupid. I figure use screws at the very top under where the cap will be and at the very bottom under where the baseboard will be. But no accounting for all the crap they did.

Now look at the pictures below to find out what my little Stiggy's favorite thing to do is.


She is a real bathroom cat. The moment I'm even walking to the bathroom, there she is trying to squeeze herself in. And as we don't actually have a door to our bathroom right now, she has free range of it. It's really quite adorable, she's never more affectionate and playful than in the bathroom, she's always been that way. In the picture above she may look like she's just lounging about but she's rolling around and purring like crazy. I just barely got a picture in focus.

Anyway,


Here is the make-do kitchen. We have most of our appliances now, a new refrigerator and dishwasher. We got both at the Sears Outlet in San Leandro and they make me so happy, knowing how cheap they were. You know it's quite odd having a built-in dishwasher without the surrounding cabinet. Can you say over balanced? I'm pulling out the top rack, loading it for the first time and it begins to tilt, and I'm too slow to react so the bottom rack flies out and onto the ground in. Luckily all of the breakables already in the rack were okay. We now have a very heavily filled suitcase sitting on top of it.


See here our make-do oven, range, cabinets, workspace i.e. the table and floor i.e. the cardboard boxes laid about the room. But we've been over to Home Depot and planned out our future kitchen now and maybe this next week one of us will visit our credit union to see if we can get a two or three year loan to make it easier to afford. Our plan is for a kitchen as economical as possible while still looking good for resale.


We had chosen this style with MDF doors but then noticed that the white finish is applied after the door is put together making the corners and edges look really bad, so we changed to the painted maple which felt great under our fingers. It was an upgrade of about $1500 but the MDF was really ugly so I can't imagine the next buyers thanking us for the kitchen remodel. The countertops will definitely be of stone... eventually but to save the $1700-2000 it will cost, we'll put in laminate for about $200 and upgrade in a year or so.

Moving on...


Here's our new back of the kitchen configuration. That new corner houses our water heater, accessible from the outside only. Obviously, our laundry next to that, no pedestal for the dryer yet. But, really, no dryer yet because that one is electric and silly me, we don't have the correct 220 hook-up. So we're currently waiting for a good gas dryer to pop up on the Sears Outlet website in our itchy clothesline clothes. We'll get that one returned when we find the replacement and hopefully we'll get the restocking fee waived by buying the new one in the same place.


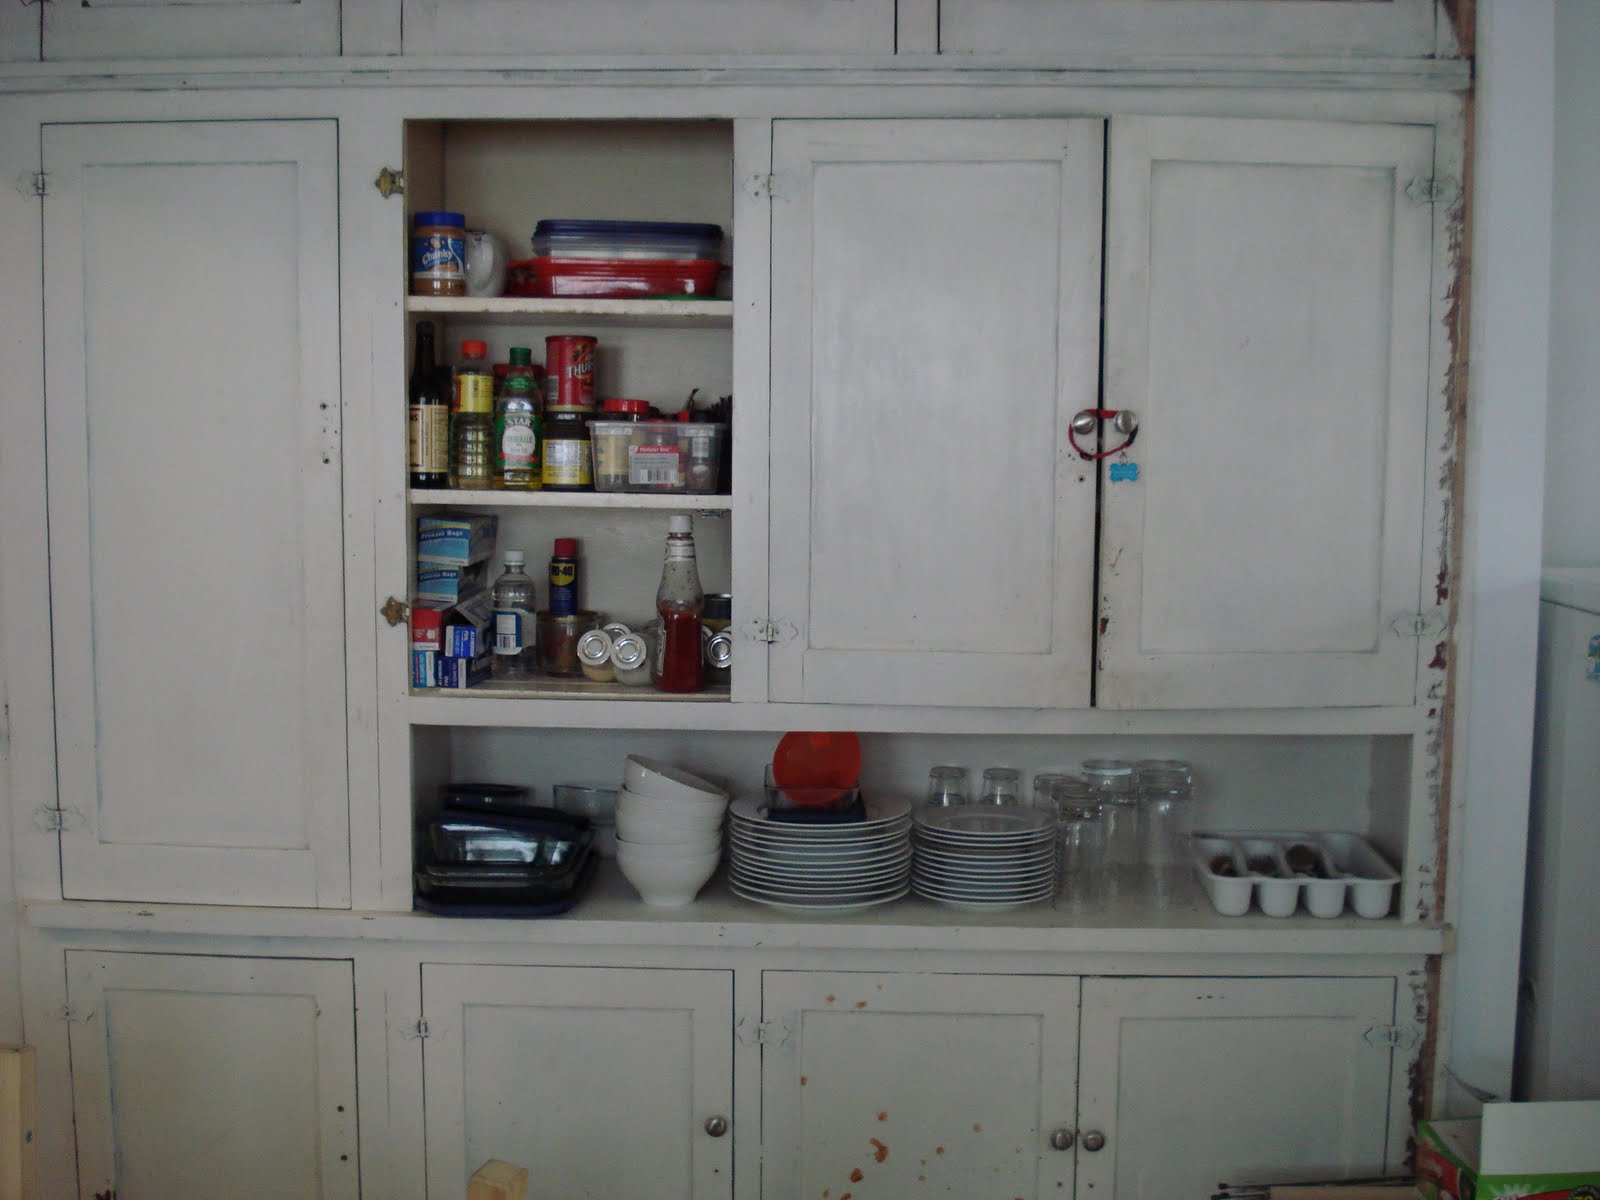
Next, our badly badly painted built-ins. I finally started my first DIY project - refinishing our kitchen built-ins. Above you see our first door missing. I used a heat gun to strip off the four layers of paint on the backside of that door - every color horrible to imagine. Then, after getting practice on the back of the door I turned it over and found out that there was only one thin layer of white paint on the outside. So the other owners took care of the nice finished outside of the cabinets up until the last poor paint job. And the wood for the cabinets - now I'm not exactly knowledgeable in this area but I think it looks like a beautiful redwood. You tell me. You can only just see the clean sanded wood in the picture below on the left side door.


These two doors show the progress we've made so far. I stripped the back of the left one to where it looks like the far right side of the right door. The right door is the interior side of one of the doors. I half stipped that with the heat gun and then we tried out a chemical stripper. When I found out that there was only one layer of paint on the outside of the doors, I also found out that the heat gun doesn't work very well on such a thin layer of paint. So as I went on to the next door, Patrick tried to sand off the thin layer which worked pretty well - you can see the smooth sanded middle of the door. Then, he went to get a chemical stripper to see if it would work any better. It was definitely easier - the part surrounding the sanded middle is what we had after two chemical layers were scraped off. He also tried it on the rest of the door that I was peeling and it worked quite well but I prefer using the heat gun I think.


In the closeup you can see the residue of the mushy paint which is left behind after scraping the chemicals off. With some washing I guess it will all come off but I kind of prefer the slow gentle removal using the heat gun. Though as we plan to paint the cabinets white again, we can probably just lightly sand the outside of the doors and cabinets and then repaint (still stripping the inside because there are so many layers).

Also, while I was using the heat gun earlier in the day, I was quite close to the paint on the outside of the house so I got a little curious and aimed the gun at it for half a minute. When it started to get all bubbly I scraped a bit off and found out that the pink isn't original. It seems our house used to be a very nice canary yellow. I would have much preferred that. Not that I've changed my mind - I still want blue in the future.

Wednesday, July 14, 2010

Thirsty Plants

The plumbing was officially finished this last Saturday! If only we had a hose that I could have used right away, I know all the plants were dying of thirst but I started looking around for the old red hose we saw laying on the patio some time ago and found it was gone. Probably taken by the previous owner just like all the knobs from our built-in cabinets (lucky for us though he left us plenty of trash to compensate). So on Sunday, I forced Patrick out to Home Depot and we bought a hose, a hose reel and a longer shovel. The shovel because my coworker came to the house early Saturday to adopt some of the plants I don't like and found that we only had a useless half-size shovel. Also, there was just the one so I got to watch her digging in the dry dry clay for quite a while to get at the plants she wanted. She took away the Purple sea Lavender,the succulents by the garage, and a couple of Irises. Not that I dislike Irises, the ones we've inherited just need to be divided and replanted quite badly. I think they'll bloom big and blue next year from what my neighbor has told me.

When we got back to the house, we spread out the very kinky hose and turned on the water. Sadly, we found that the hose bib leaks quite badly in the on position. We put a bucket under it for the time being but will ask our contractor if he can fix it. Next, we found out that the nozzles we bought for the hose were rubbish. The water should naturally not flow when one isn't pulling on the trigger but the manufacturer apparently doesn't agree. So we had a small stream of water following us to each of the plants we watered. The poor roses who I've been so cruel to, pruning quite a lot off of them in the middle of summer with no drink afterwards - they finally got a good soaking. We continuously watered around everything for a good thirty minutes, then set to work at clearing weed grass. But I swear the ground was already dry again, everywhere. At my parent's house if I water one of the beds, I see run off almost straight away because of the bad clay but our ground was so dry it just soaked up gallons upon gallons without one little trickle running away.

While this picture is from before we watered that yard, it shows from a wider angle all the progress we've made. Sadly, you can see the construction debris still there, but Abel assures me it will be gone this week.


Also, a very nice discovery concerning our strange little retaining wall.

We originally thought, with the grass tall on both sides of the wall, that the wall was made of poured concrete and then topped with some landscape rocks but now that the weeds are mostly gone, we can see that it is actually made of a lot of very nice landscape stones. Whoever put it up must have laid a line of stones then with a form around it, poured a bit of concrete on top, then did three or four more layers of rock and concrete. It's still a horrible sight but now we figure, as the concrete is from a very bad mix, we can buy some hand chisels and get the stones out to use for our dry creek bed.

Monday, July 5, 2010

Starting Work

Well, we closed just over five days ago and already our contractor, Abel Diaz of A&D Construction and his crew have put in four days of work (although I only have pictures of three). On the day we closed, Wednesday, when I got home, even though Patrick was on the couch with a headache and some bug he caught over the weekend, he wanted to go with me to the house (probably because he knew I was dieing to get started). So we went out, grabbed some pizza and went off to the house. We met Abel when we got there and had a short walk-through and gave him the keys so his crew could get in the next morning. So he left and we were again locked out of our house. But we weren't going to do anything in the house anyway.

We went out to the back and started hacking at the weeds. Patrick quickly decided it was useless not having a weedwacker and I agreed. So we did what we could and the next day came back with one.

However...


This is a picture of the result of the work that was done Thursday which made me quite happy and anxious to see the bare inside. Patrick may be looking a little cross but it's not at the mess. It's kinda because we couldn't go inside to see what had gone on... The crew started early at 7am and probably went home around 5, but we didn't manage to get there until 6:30 with our trip to Home Depot. So no one was there and we'd given our keys to Abel. Actually, even if we had an extra copy of the keys, we'd given them some new lock sets to install and forgot to open them first and get out the extra keys so we were locked out. I'd have called Abel, but I'd also forgot my phone... that's probably what's made Patrick look frustrated! hehe. So we simply went back home because all our garden tools were locked up and Patrick didn't want to weed whack without gloves and a mask (allergies) and these were locked up too.

But we could see that Abel and the crew had gotten a ton done (the dumpster will be there later this week). They'd already started demolishing the porch.


Then by the end of Friday, they'd finished the job.


As you can see, there's a small access problem at the moment but we don't have to worry about rain, as the roof is still on! It was about the only stable part of the old porch. They'll be rebuilding top to bottom I guess.

The other bit of progress is in the kitchen, see my semi-panorama, left to right:


They've yet to knock down the middle wall dividing the back of the room but they have removed the the bits perpendicular to it which made the doorways to the smaller rooms. The place already looks much bigger and brighter. You can see in the left picture where our washer, dryer, and water heater (in a cabinet) will be, next to the original cabinets we will refinish later. And here's a better picture of them since I didn't have one earlier.


Of course, I haven't actually taken a picture of the full cabinets... Silly me, there are two more panels to the left without a gap in the middle.

They also managed to gut the bathroom in the two days before the weekend - normally they work Saturdays, but they took this one off for the 4th. So your first pictures of our bathroom are just of the the bare floor boards and the toilet the previous owners must have had for two decades before selling.


There used to be a horrendous one piece shower stall connected to the protruding pipes behind which the toilet hid, nearly invisible. But gladly, that is now in pieces in our back yard rubbish heap.

Now, that's about it, no rebuilding happening as of the 4th, but they've been working all done today and as we're (reluctantly myself) taking a night off from gardening so we'll have to see what's been going on tomorrow. But as I have a few better pictures of other areas of the house, here they are:


The doorway to the bath and two bedrooms which they're widening for us.


View into the living room from the dining room.


And our now superfluous front door.

Next, I'll show you the progress we've made from going every night to the garden since last Wednesday.

Sunday, June 27, 2010

The Plans - The Garden

Oh, there are so many things to be done in the garden, it's hard to know where to start. Once we close escrow (updated expectations are this Tuesday), we'll attack the weeds and overgrown... everything. As we'll need to get a cashier's check and go into title to sign the papers on Tuesday, I'm planning on taking the day off and going to the house straight after to finally attack the weeds that I've just had to look at each time I've visited the house in these past three and a half months. As for the new design, I've already drawn probably a dozen overhead views trying to figure out what to do and have a pretty good idea for it but we won't really know how plausible it is until we start the work. But whatever the end layout ends up being I know the elements I'll want to put in. So what I'll do is tell you those and that will give you a good idea of what we're hoping for in the end.

1. Lots of Trees - I want proper shade in the end for our hot midsummer days. I hate flat expanses, with no chance for cover. I want to have one tree that will become very large with age for the middle, slightly rear area of the garden, probably where the lemon is now. Yes, the lemon will go. I like it very much but the tree is a very strange shape because it's been badly pruned numerous times - I'll take pictures of it some time later. For that big tree, I'm thinking a black oak right now.


Beautiful leaves and branching structure, Great fall color and a good source of food for all the little animals I'd like to attract. After the oak, I'd like some fruit trees - a new lemon, a cherry and a nectarine for Patrick. Then one or two beech trees for near the house. (And I won't go into shrubs and things smaller than that just now)

Birch Trees
Nectarine Blossoms
Young Bing Cherry Trees - it's hard to find pictures!


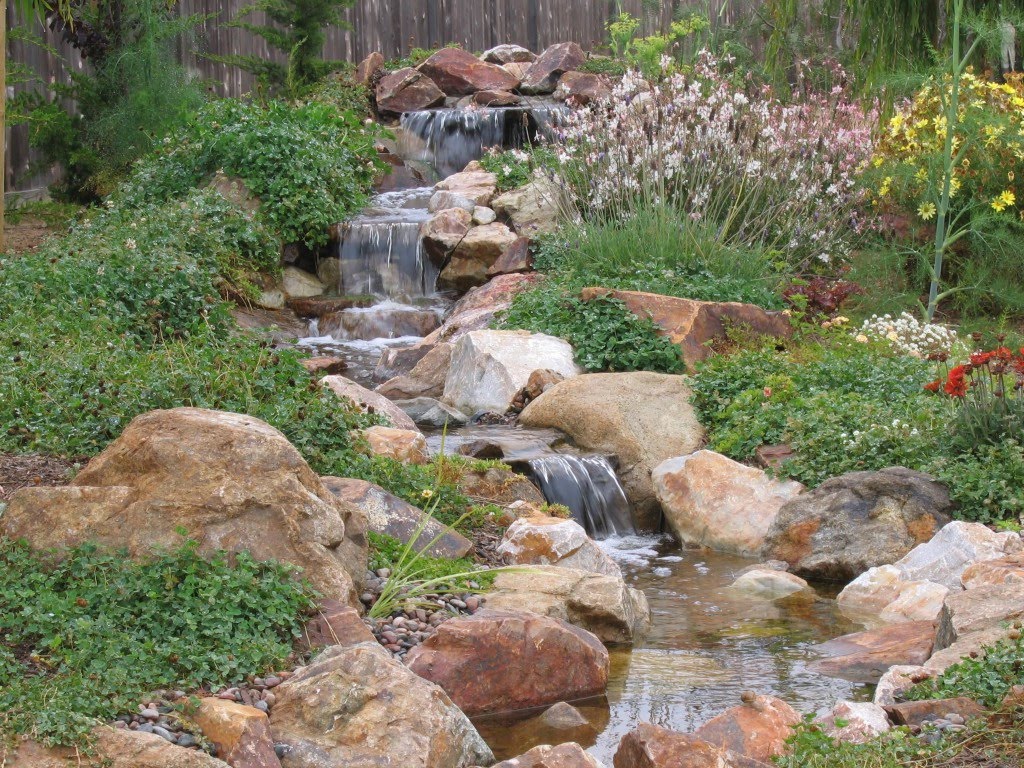
2. Dry Creek Bed - Running through the whole backyard from the upper right to the lower left. It'll help with drainage during the rainy season and also help the soil retain more of the run off as it changes the direction of the flow and slows it down (at least this is what I've heard - and it will look cool! hehe).


3. Pergola - In the rear left corner of the yard for our instant shade, draped in wisteria. Although I'm not sure how well that will work now that I've discovered grape vines coming over from the neighbors yard in that corner. I guess if they grab onto the pergola and intertwine with the wisteria that won't be a problem, it's probably more likely that the wisteria will get out of control I guess. I'll try planting it next to the farthest post from the grapes. I'll also want to hang a swinging wooden bench from the pergola, I've always liked the idea of having a nice wide and deep bench swing. We could even put in cushions.


4. Sitting Area around a Fire Pit - Just in front of the pergola I'm thinking. With flagstones or decomposed granite and Adirondack chairs and a round cauldron like fire pit.


5. Stone Retaining Wall - This will be our first construction project probably. A proper retaining wall just in front of the dinky one already there. We'll build it with cinder blocks and eventually, if not immediately, face it with stone veneer. Proper veneer though - not the slabs that are made to look like six small pieces of stone but individual pieces with no grout showing between them. Since the cinder block wall will be cheap and effective, we can build that and then add on the cosmetic facing later if it turns out to be expensive. We'll dig a small trench to start the wall and then regrade the sloping bottom half, dumping the excess behind the wall to build up the higher level. To get rid of the old one foot wall made of various bricks and cement (...yeah, I don't know why), we will get a jackhammer from the Oakland Tool Lending library and then bury the bits behind the new wall! hehe (I like the wall part of the picture below, not the steps)


6. Lawn - Well, we've got to have a small bit of turf, Patrick wants to have it besides it's traditional. On the lower level, we'll have a brick patio extending along the right side to the stairs in the retaining wall, then next to that the dry creek, and on the left a small circle of turf accessible by a flat wooden bridge we'll make ourselves.

Sunday, June 20, 2010

The Plans - The House

Sometime in college, I went to visit family in the mid-west and was bored to death by programs they were watching on TLC about fixing up homes and gardens and redecorating. But while I remember disliking the programs during that whole trip, they did somehow grow on me and there began my interest in buying a fixer-upper. Also, I already knew that I have very strong opinions on style and quickly realized that a fixer would always be my only real chance of having the right design throughout my home. Besides, I love the idea of getting what I love at a better price by doing it myself.

My interest in gardening didn't begin until I came back home after university. I had nothing to do for nearly three months before I went to my teaching job in Japan so I explored the bookstores and found out that you actually have to know a lot to garden well. I already knew my dad's garden was just hanging in there and decided to use the time to help it out. I was able to prune trees that had turned into bushes in the front yard and encourage a bit of redesign before I left. Now, almost four years later, it's quite a different sight (still could use a bit of work though).

So, luckily, Patrick doesn't think these two strong interests of mine are too crazy and agrees that this house we're buying now should end up quite a good investment. Right now, it's just about the worst house on a pretty nice block and in the end, when we grow out of the two bedroom house, we figure we can sell it for quite a profit.

So, onto the plans. First, we're buying this house using a FHA 203k loan which provides us with extra money up front for repairs - in our case, just under 60k. And, believe me, it needs every penny and a bit more actually. The pest report alone came back at 30k hehe. That interesting front porch is completely unsound... YAY! I can't stand that porch - with it's ugly columns, concrete flooring and side entrance. We're going to have our contractor, Abel, and his crew knock that down to the ground and rebuild it as a more classic front-entrance one. The front of our house will look something like this drawing I made up (except I just threw in plants - I don't have a final design for the front garden yet)


But as for the color, I'm quite sure that we've decided on this or something slightly more teal. Other changes to the front that we'll have to handle ourselves (no money for Abel to do this much) include: opening up the street planting bed in front of the house and far in the future redoing the driveway, probably with pavers but definitely with a green strip down the middle. They're not in this picture but we'd like to have a tall tree on each side of the street planter or front garden. I want to be able to look out the window and see through the leaves.

Next, to the inside of the house, here is a scale diagram of the floorplan as we eventually want it.


In the front room, you can see the sofa set and coffee table that we already have, I just wanted to see if they would fit or not. We'll probably put them this way at first and then replace the small sofa with two chairs eventually - one near the fireplace and one in the back corner. The colors are all undecided except perhaps the front room, we both like the idea of green. One of the first things we'll be doing ourselves inside are the built-ins and baseboards - we'll be refinishing it all and painting most of it white except possibly for the china-cabinet and the fireplace. We'll have to see if it's all in good quality under the current finish.

The kitchen is shown more like it will be when we're finished - it's much smaller currently with two small rooms at the back. We'll have Abel tear down the T-shaped wall at the back and open the room up to what will be 15' x 15 1/2'. Once open, I'd like to have large diamond patterned dark gray and nearly white tiles with white kitchen cabinets. I don't have a picture before but there are also built-in cabinets on the right side of the kitchen that we'll refinish and paint white.

The bathroom will have white wainscoting and the classic white and black hexagonal tile. We were going to do this ourselves but as Abel will be gutting the room (termite/dry rot damage) and we would have to do the tile before having the clawfoot tub we're buying installed, we probably wouldn't be able to arrange it in a timely manner. And of course, we won't be able to move in until the bathroom is done and we want to move in as soon as possible. Here are some good illustrations of the style we're planning on. The numerous differences, I'll go over later as it's happening.


Saturday, June 19, 2010

The "Garden"

It's a real pity that I can't show you pictures of the worst condition the garden has been in this year. Apparently, I hear from my realtor, Patty Hyun (Highly highly recommended!), that the neighbors complained to the city of Oakland to get them out to the house and fine the two brothers who own it as they'd let everything go far too much to seed. The grass was four feet high throughout the back and mercifully the front was only two and a half feet tall. There were huge thorny towers of weeds just as tall. I'm not terribly familiar with weed types although I'm sure I will be soon enough. Some of these giants I'm sure are the type you usually step on in the lawn, curse, then rip out at only an inch tall - but they were as high as my chest. After the city got onto them, one of the brothers apparently went out and used a strimmer on the majority of the grass and I'd, of course, forgotten to take pictures when I visited the week before. But I got ones of the aftermath which looks almost worse for being able to see more of the plants behind the grass.

So let's start the tour at the back of the house going toward the back of the yard.


Here you see our lovely red cement patio with it's decorative grass growing between the slabs. Also, you can see a small example of our patio furniture - it does seem that the debris there and much more will be coming with the house as it still hasn't been cleared out. Among the weeds, there is a rose bush, some kind of bulbous plant showing its broad leaves and two big Oleanders (only one having nearly pretty flowers).


A step further along and you can see the rest of our left-side neighbor's garage and quite a few more weeds. Strangely enough, though, there are quite a few interesting plants as well. The lemon is pretty obvious with some of its fruit hanging at the top - delicious, by the way, we've already absconded with about 10 lemons and made one batch of lemonade with more to come. There are at least four different rose bushes, all of them far overgrown but in great condition. When I was out this time, I had my clippers with me so I cut a bunch of long stem reddish orange roses for Patty and took a bunch of reddish pink ones for myself. There's also a hidden red pelargonium somewhere in the corner, I've seen its leaves poking through the rose bushes. Then, in the very middle is a Sea Lavender or Statice - not really my style plant. There's also a small clump of Aeonium or some such succulent behind it. I was thinking I'd just have to throw them out but found yesterday that a co-worker of mine would gladly take them both off my hands. Lastly, if you want to see those huge weeds, take a slightly closer look around those roses.

Now a small look back before continuing:


Also, as a small side note, you may be able to see that our garage is a bit lacking in, let's say, structural rigidity... but that's okay! We'll be knocking it down and getting a new one built. But more on that later.

Moving on, behind the garage, I don't have picture of it but there's a nice green and yellow mat of Oxalis pes-caprae! It should be a fun adventure trying to root out all those tiny little pests. One good thing is that the area where they seem to be most prevalent is just behind the garage and we plan on pushing back the earth behind a retaining wall there.

In this picture, you can see our sprawling overgrown blackberry bushes. Silly me, I didn't know what these were until the other day, thinking they were some kind of weedy single white roses or something. But despite not being cared for at all for at least a couple years, these vines are setting fruit right now. I could see the half berries half flowers yesterday when I went by the house to steal lemons.


Notice the large number of plants in that small corner too. There are tons of blackberry vines now flowering and numerous little blackberry sprouts, as well as nasturtiums, oxalis, grass (of course), and two very deformed pear trees. One in the front obviously, though again very badly pruned, and one swallowed up by the vines in the corner (I just discovered it as I was uploading the picture actually!). And somewhere deep in there, one more rose with deep pink flowers.

Now, only two more turns and we're through. Next is the other back corner - a mass of tall weeds and grape vines coming over the fence from our rear neighbor.


But wait, when I went in the tangle yesterday to see if there was any fruit developing on the vines, I found that they were clinging to something growing on my side of the fence. Not sure yet what it is with all the vines and weeds in the way but I think it might be some new fruit to be identified.


Lastly, our pretty but battered looking Magnolia tree. I'm not sure yet what type of Magnolia it is but at least I know it's not the type I hate - I can't stand the ones with dark green and copper colored leaves. It had quite large saucer-type blossoms when we first went into escrow and now has very nicely soft light green leaves. Hopefully, I'll be able to prune, feed and water it and the other desirable plants in the garden to health.