Showing posts with label Before and After. Show all posts

Wednesday, March 2, 2011

Paint and Plaster

During the past three months or so, we've worked on and off, little by little, on the front room walls. The front room more than any other had very bad paint, not color, although I can't stand any of the colors the house came with, but the paint was dimpled and cracked on all the walls. It wasn't peeling or falling off but it wasn't good. I decided that I'd scrape the paint off the walls, around the cracks, at least, but found that all the imperfections we were seeing in the paint were not coming from the plaster. The plaster is wonderfully flat and strong away from the cracks that actually were telegraphing through. So I decided to scrape all of the front room. Took forever and was quite dusty, but it's done now.


We've repaired all the cracks on this side of the room and skim coated the wall on the right of the picture and one more across the way. We won't remove the paint above because when we first started to scrape in that area we found that there isn't any finished plaster up there. There used to be a border all the way around the room and above it there was just the rough scratch coat and it's really hard to peel the paint from that. So we'll just plaster over it all around and put up a new border. You can also see to the right a paint sample! I want one more, slightly lighter but this front room will be green.

We went a little paint sample crazy last weekend. The front room has been our focus for months now but actually the kitchen and bathroom have been ready for paint for a while. The bathroom will probably be bluish but I'm not happy with the samples I put up. The kitchen , though, will be yellow (with white cabinets and wood countertops) like the picture below.


I'll pick up another yellow sample slightly darker to see if it works better but this might be the right one. I also put up a very light purple before but it doesn't work, the room will need a warm color with all the white, stainless and fluorescent white lights.

This last weekend, we also finished replacing the missing shelves in our kitchen built-in. Inexplicably, when we bought the house, there were these wire shelves resting on the remnants of the solid shelves that were cut out of the built-in (and not cut well either).


But now we have pretty primed pine shelves. Still need to paint them with glossy white but we also need to use the shelves.


Then there is the big job we took on this last weekend, the first Patrick and I have done together for a while. When we first bought the house, the closet in the back room which is now our bedroom, was big (about 7x2) but it had a regular 30 inch door. So you could step into the closet, turn and walk three feet more into the closet. Very strange and not very useful so we had our contractor make the opening wider.


They widened it quickly enough but they didn't finish the framing and drywalling until last month... not really excusable in my mind. But it's done now.


You can see the purple paint sample that I bought to try in the kitchen in the middle. I like it in the bedroom but it's a bit too light. Anyway, super eager now that the closet was finished, we bought this simple closet organizer.


The pink wall looked like it was in good enough condition. The back baseboard was rotten on one side so we would replace it but after that just a bit a plaster repair in that area, paint and install. Finally an easy job.

...But when we stepped into the closet to check out the baseboard, I noticed a very straight line down the middle of the back wall. I pick at it a little with my finger and some fell off. Damn. That pink is paint on top of green paint on top of 80 year old wallpaper.


So a bit annoyed, we went off to Home Depot again and got a wallpaper scorer and a spray to dissolve the glue, then scraped late into the night determined to install the organizer tomorrow. Most of Sunday, I plastered over the wallpaper we couldn't scrape off and the holes from the plaster that was pulled away with the wallpaper until it got to whitish yellow state above. Sunday, we also wrenched off the baseboard and about 5 pieces of lathe that were also rotten in the area and maybe half a square foot of plaster. Before screwing in the new baseboard, we sprayed in a can and a half of spray foam to stop the strong draft that had been freezing me since the moment I knelt down to do the plastering. Seems to be working. After spreading on a second layer of plaster Monday night, the bottom corner looked like this.


With the third coat at the bottom yesterday, the area is almost flat. This weekend I'll sand down the plaster repair and the top of the baseboard which has gotten its own accidental coat of plaster, then we'll paint and Patrick will be able to finally install the closet organizer.

Eight months without a working closet has certainly been long enough, I'll definitely be posting a finished picture after this weekend.

Friday, January 21, 2011

Finally Emerging

I've been horribly negligent about the bulbs that I so badly needed to buy over the last few months. Not on the buying side, I bought lots of bulbs but never got to planting them. Not until past all the recommended planting dates. On either January 8th or 9th, can't remember, I planted the Muscari I bought back in November. While I've already seen pictures of other people's gardens with emerging Muscari flower buds, mine are just getting started. But I'm very very glad to say that I didn't plant them too late! It's been just under two weeks but the tops of the leaves are starting to emerge.


I was trying to count up the emerging tips but kept getting lost and seeing more where I'd already counted. There are at least 30 already coming up.

And on to the bulbs in the front yard, I discovered three days ago that my tulips are also starting to pop up. Does anyone have tulips coming up already? I thought I waited too long to plant these too but it was still in early December. Much better than my other bulbs. These are on either side of the steps to our front porch.


You can probably tell that I didn't amend the soil as much (as well) with the tulips as I did with the Muscari. I think I'll work some more compost into the soil when the bulbs die back next year.

Like the bulbs, everything else in our garden just now is in the development stage. There seem to be just two plants blooming just now, the breath of heaven shrub in the front and the ground cover Gazania next to the street tree.


I'll just have to do my best to add more plants that will give winter interest before the next one comes around (shouldn't be difficult as I have so much to add). I've already taken one step in that direction by finally planting one of the barberry 'red glow' shrubs that I bought, again, ages ago. It looks small and pitiful with only a few leaves remaining but those leaves are gorgeous.


Then there's the Dietes or fortnight lily that I planted a few weeks ago which is finally starting recover some of its darker green coloring. It had been going slightly yellow in its pot but this year will be a better one for it. (This is my baby of two and a half years now, I'm determined it will be happy this year and bloom abundantly).


Last, on the topic of my developing plants, the newly planted Ceanothus 'Dark Star' that I mentioned before has little buds meaning I can be sure that it's happily developing in its new home.


Last of all, I just have to post a few pictures of the new exterior of the house. The better lighting in these pictures is just begging for me to post them.


And I told you, see? The back porch, though still with ugly siding attached to it, is straight and level.

Monday, January 10, 2011

Paint-tastic

So wonderful news, we're getting a New Years Gift from our contractor! He's painting our house, completely, instead of just priming it like he's required to. So no more pink house! He told us this last Thursday when he came by in the evening and they started painting on Friday. We had already been thinking about the colors we wanted and had grabbed some paint samples from Home Depot probably over a month ago so we gave those to him since he wanted to use a tinted primer. Fine with us, though we did make sure to tell him that we don't know the final color yet. Good thing too cause the colors we pick out were UGH Ugly! Take a look:


Easter candy blue, don't you think? Quite a shock to come home to. Apparently, choosing lighter colors than you would guess you like is something you do for inside paint colors, NOT outside. So over the weekend we went back and forth to Home Depot two times before we had all the paint colors you can see on the front of the porch. But I wasn't really satisfied yet, so I went back one more time Sunday afternoon and pick out three more (total 12 samples = about $48, I think worth it for an exterior color choice) and applied them to the other side of the porch.


Love, finally I'd found the right shade and saturation. I was crazy for both of these colors so spent a ton of time making large swatches to compare. And then, I just couldn't decide. I made Patrick, who was getting quite tired of the process and seemed a bit convinced that I was trying to get the house painted teal, go outside and look at the colors twice before he finally convincingly said that he would like either one of them. So.... I decided as I was going to sleep that the brighter blue that I do very much love might not be acceptable to enough people, or me after it was on the entire house so the one of the left it is.

While I write this now, the men have probably finished spraying the correct color on the house and should be painting the rails and trim the whitish color we chose. Also, today, the men should be taking down the ugly metal awning over the front window. Seen here along with one other dramatic front yard change:


Do you see it in the shadows? No?


No more Port-a-Pottie!! That wonderful surprise greeted us about a week ago. Also, quite a few other things have been completed in the last few weeks. The regrading, new drainage, and concrete around the chimney is finished. It started out like this:


This picture was clearly taken on a dryer week and the problem isn't so obvious but just out of the picture is our chimney - our water trap. One morning after a rain, we took a look at this area and saw puddled sludge, because the water was just collecting there, trapped two inches below the concrete drive, and over the past century slowly making the chimney sink along with the rest of the living room. But now the foundations are a bit taller and the downspouts lead into a buried pipe diverting all the water down past the chimney. And to block any other water from pooling there anymore, we have new sloped concrete over this area.


It doesn't look obvious from the picture but the new concrete is nicely sloped and water won't be collecting there anymore.

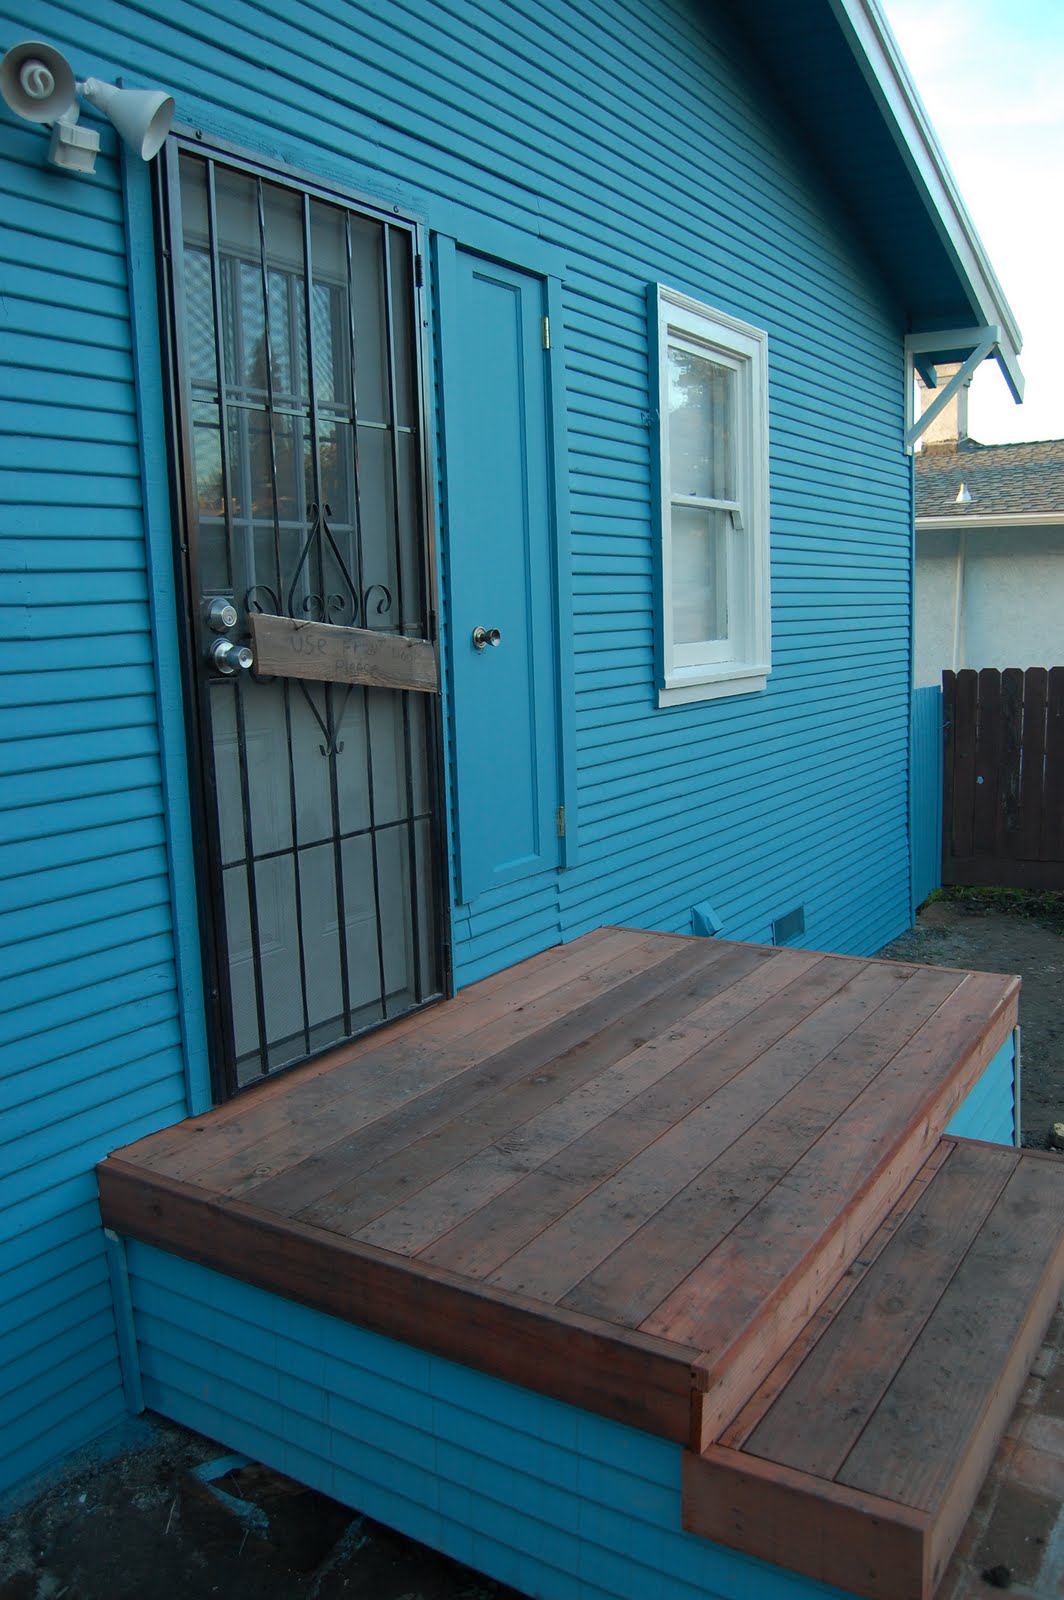
Now walking up the drive in to the backyard, we finally have a back porch again!


...it isn't quite what I was expecting... but this is my fault for not drawing up plans for what I wanted. I was pretty much thinking that a small back porch is a small back porch, there's nothing really to explain. Well except the landing, I wanted that to be brick so I did talk with Abel about that and the men built it to the pattern I wanted using the extra bricks that we'd found around the yard. I'm happy enough with that. We'll have two planting beds on either side of the landing so the rough concrete underneath won't be visible. Now the siding however... Don't know why they put that on there. But then I didn't specify that I expected the lower part of the porch to just be open. I thought that later I might add lattice to it the open porch but of all the problems that have come up due to bad communication, this is one of the smallest so I didn't complain. All the side pieces of the porch are just screwed on so we'll just take off the siding sometime on our own.

So anyway, next, to the lemon tree at the back of the garage.


And yes, I know it looks like I just weeded a spot next to the tree but I actually finally planted some of my suffocating bulbs. This patch has about 50 little muscari all over and 5 lily of the valley towards the right side. Then I took my ailing chamomile from the tiny pots I should have removed them from months ago and put them on top for a pretty, mossy cover growth (eventually). Also, good to note is that the muddy pit just visible below isn't full of pooling water anymore, after the week of dry weather, all the standing water has finally drained away and even better, despite all the water clearly flowing down the trenches to the bottom of the yard, the bottom area was dry after only 2 days (not so for the top half of the yard, we still need to do a little digging but we can only do so much on our weekends).

Our last bit of progress is in the back corner of the yard. Here's what the blackberry patch looked like in spring before we had the house, before we'd even been able to cut down the weeds.


You can just see a red spot from a rose buried inside it and an orange spot from a nasturtium. Well, we took down the pear tree the first weekend we had the place because it honestly had no roots and was obviously dieing. But it took until the weekend before last for us, that is to say me, to cut through the rest of the thicket. It took two weekends but now it's almost gone.


Sorry for the bad lighting but then the picture wouldn't be very pretty even in the best lighting. The lump towards the left side is apparently a bush that the blackberries engulfed and I assume, killed from keeping light off it for two or more years. Next to that is the pretty rose that had been throwing up reddish purple flowers during the summer and that now had bright orange hips, looking very healthy despite the brambles. Then, there are the three volunteer trees that I'll just have to get to later... when I've gotten over this cold.

Tuesday, December 28, 2010

Far too Much Water

So this weekend, I was finally set to stop procrastinating and fill our green bin with blackberry brambles. And I did, as much as could fit at least, which happened to be a bit less than half. In the process of pulling and separating the amazingly long canes (some twisting nearly a dozen feet), I found some oddly high tangles of grass, right in the middle of the brambles, surrounding flat depressions of grass... kind of like a bed... It was empty when I found it but this must have been a nest for something big - maybe raccoons or opossums?


Recently, we've found some rinded lemons sitting around the yard, like rodents have eaten the sweet skin and left the sour flesh - my coworker rents a place with garden full of rats that do a similar thing.... but luckily she said that they always leave a mess of lemon peel bits around the part they leave behind and my thieves are very clean, taking every piece with them so I'm crossing my fingers that it's just squirrels or raccoons. Anyway, I don't think they've been living in our blackberry stand for a while now or at least hopefully they won't be coming back now that I've open their nest up to the cold.

So while I packed our bin with the thorny thorny canes, trying to not get pricked, I glanced over to our back planting bed and noticed (for the second or third time) that standing water had collected in the left side of the triangle. I wasn't happy the other times I'd noticed this but didn't have the time to deal with it, this time I decided that now that the bin was full, I should try to fix that problem, too. Here's the first picture I took, sadly after I'd taken a couple spadefuls out but the problem is still obvious:


A few minutes shoveling didn't take care of the problem so I kept going, discovering more and more water just barely under the boggy ground I was standing on. At the least, you can see below that the standing water has moved away from the roses, pelargoniums, and lavender that were probably drowning a bit.


Now the other side didn't look bogged down but if I was making a drainage ditch for the one side I wanted it to do it's work on the other side as well. Also, I noticed that much more water came out and gathered in the areas I had dug already than one would think possible so I figured something would appear even in the dry looking side. And it did, but there's no good pictures to show off the digging I did for the rest of the night, well past sunset (I haven't been that enthusiastic digging ever, I think). And eager to get started on Sunday, I came out to take a picture of any continued flooding the next morning.


And yes, I did all this awesome trenching with my own girlishly weak arms. And all the horrible mucky, muddy mess, that's mine too. It was also all over me the night before and destroying the only pair of shoes I really wear, some little black flats, that I'm now wearing, even though they're still a bit caked. Feeling that after the night before, flats with no tread and very little waterproofing power weren't the best footwear to continue in, I went with Patrick and we both got some wellies (or galoshes if you prefer) to work in.

This time, I dragged in Patrick to lend his more powerful, less sore muscles to the trenching. Together we were able to get the trench continued all the way to the end of the grass in the lower part of the back garden. Very proud of our weekend work, although it is true that I'd hoped that I'd finally get the rest of my bulbs buried and my maybe some of my new plants - Christmas Eve nursery trip, my present! - in the ground.

Still, this means we're finally started and even halfway done on one of our many projects. Now that the trench is dug out, we just have to get gravel and rocks delivered so we can make our dry creek bed. In my original plans I didn't have the creek going up into the top garden but I think it will be better this way. Now our large decomposed granite flat space up top will be bisected by a cute little creek and we can place flat flagstones for steps across it. Also, any worry about bogginess in patio area up top will be taken care of.

But anyway, one to two inches of rain is forecasted for tonight so I'll take more pictures tomorrow that include the second part of the trench and we'll see if it survives the night and serves its purpose.

Monday, December 13, 2010

Weekend Gardening

I was so so happy that the weekend arrived and it was actually dry like they said it would be. I've had a great desire to be out working in the garden lately but by the time I get home on a weekday, the light is already going. I'm barely able to look around and see if work has been done on the house while I've been gone. But this weekend I was able to get out and do some work. Muddy work, but overall very satisfying.

For the past month or so I've been telling myself every time I go out to the garden that I'm going to get my pruners and chop down the big strand of blackberry bushes in the back corner of the yard but easily distracted as I am, I haven't so much as touched one of the canes despite going out 5 or 6 times since my resolution. This time I distracted myself with the mound of grass, weeds, and clay that I had heaped up in mid-summer to dig our solitary flower bed in the back of the garden.

Our flower bed has since expanded in both directions but the heap has remained. I thought it might naturally form a small hill once the rains started to come. Instead, it stubbornly remained a lumpy heap, which I have to admit I was actually quite sure would happen. You can kind of see it, lazing there in the picture below from mid-October.


Since the rains started, it has also started to sprout a new growth of weedy geraniums and grasses (luckily no oxalis, the bulbs must be buried deep). And since there was also a couple inches of original grass between it and the finished bed that have been trying to spread into our precious, clean flower bed, I decided to procrastinate on the berries, by hacking at the heap this weekend. Also, it's the low impact, easy on the muscles kind of gardening I especially like. So here it is, after picking it apart for two hours or so, it was finally a nicely manicured little hill behind the flower bed.


The lump was kind of resting against the bottom few inches of the fence for these 5 months so you can see the dark soaked wood behind it... I know, very bad of me, very unneighborly... but looking at it again on Sunday, dried out, it looks like that area of the fence is in no worse condition than the rest of it.

Also, sidenote - I cut out the two overgrown Coreopsis plants I had between the Agastache and Foxglove. I also cut down the Agastache and harvested the seeds a week ago. I don't know if the Coreopsis will come back, it might, the roots look very healthy, but if they do I'll move them to a new place. The Agastache and Foxgloves next year should be enough for that part of the bed.

And so, Sunday! Having conquered the heap, I decided I must now use it like I originally planned to. Now, the lighting is pretty bad but here:


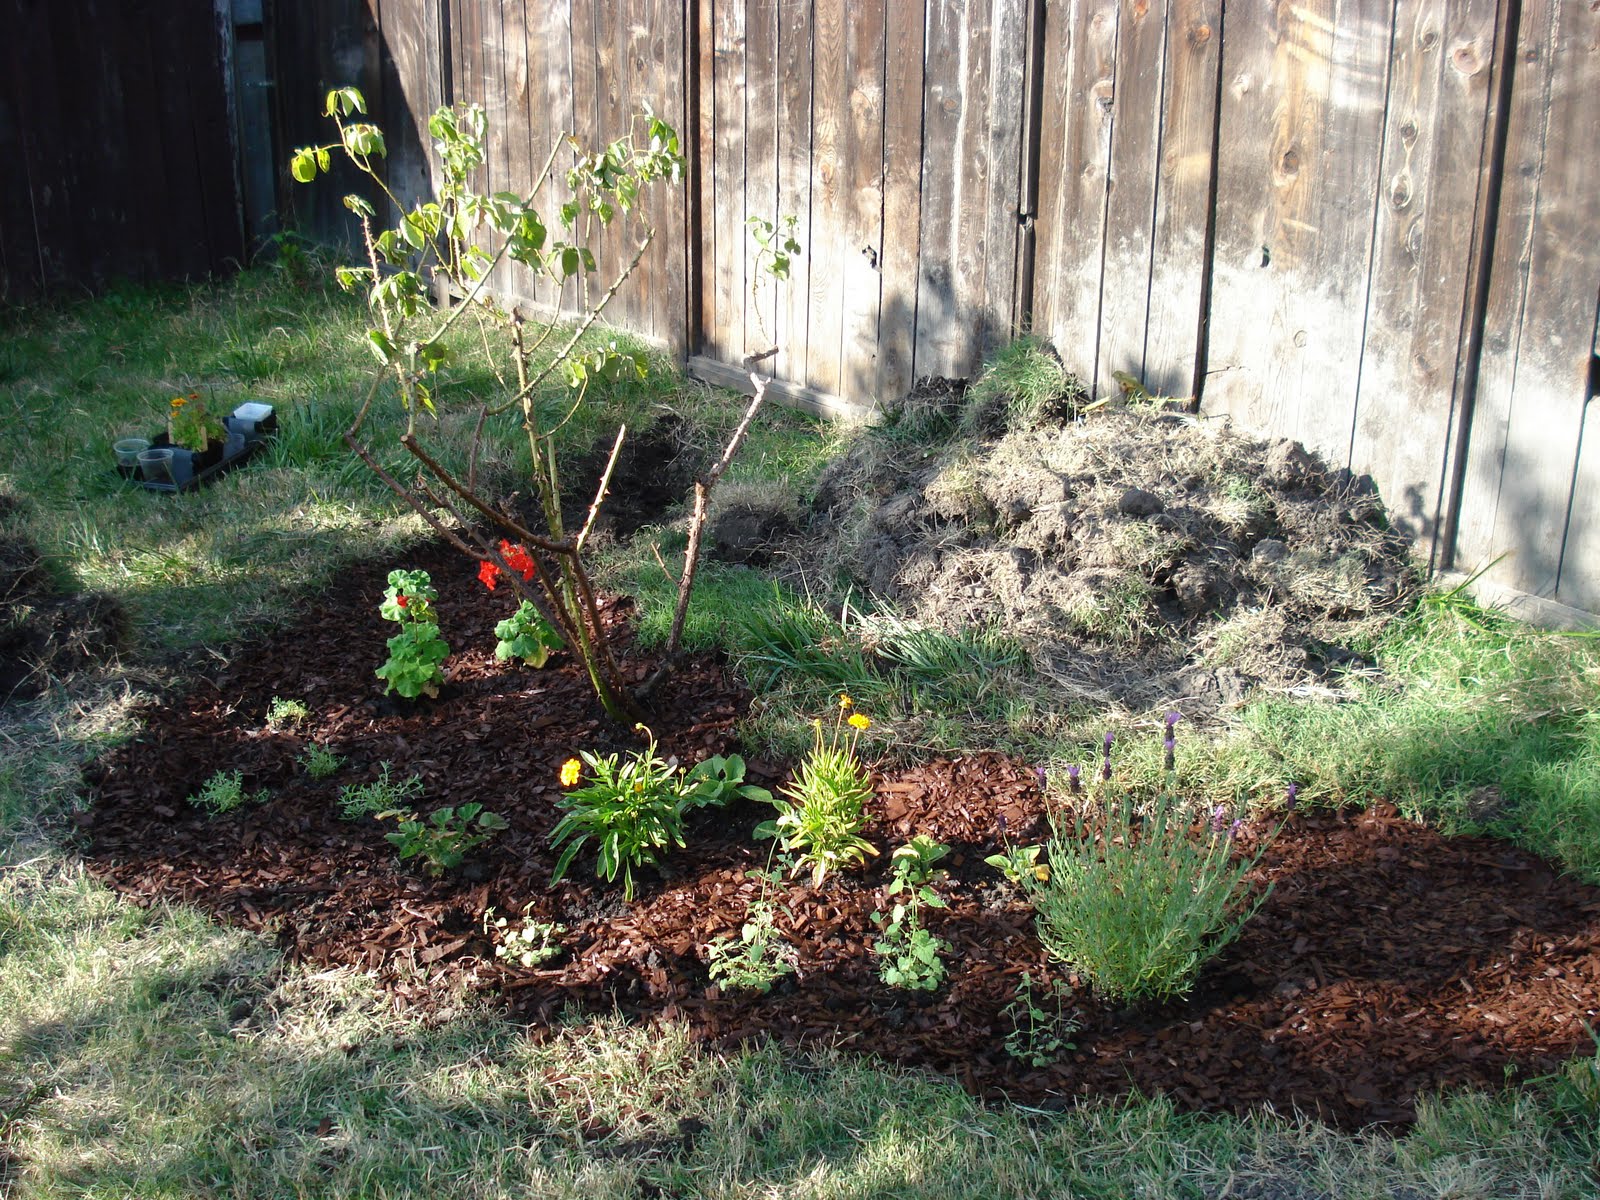
That's a very well shaped, at least I thought so, Ceanothus 'Dark Star' sitting on top of the heap. I've always wanted to plant one in the back garden, so this is what I was thinking when I originally made the heap. I've read that a little additional water in the summer can be good for it but that too much can kill it and that it needs to be in well drained soil, so I think it will do well there. Also once it expands into a small tree, it will go very well with the two roses in front and next to it. While the roses are cut down and resting for the winter, the Ceanothus should be in full bloom, winter to spring. Then as it turns into a normal evergreen shrub after the bloom, the roses will take over.

And so the back flower bed is starting to take proper shape. I want most of the plants in the top of the yard to need little water: Agastache, Lavender, and Ceanothus. This next year, I plan to add native wildflowers and shrubs, a pergola and wisteria, a redbud, a Black Oak, and a large dry space in the middle with Decomposed granite or something similar.

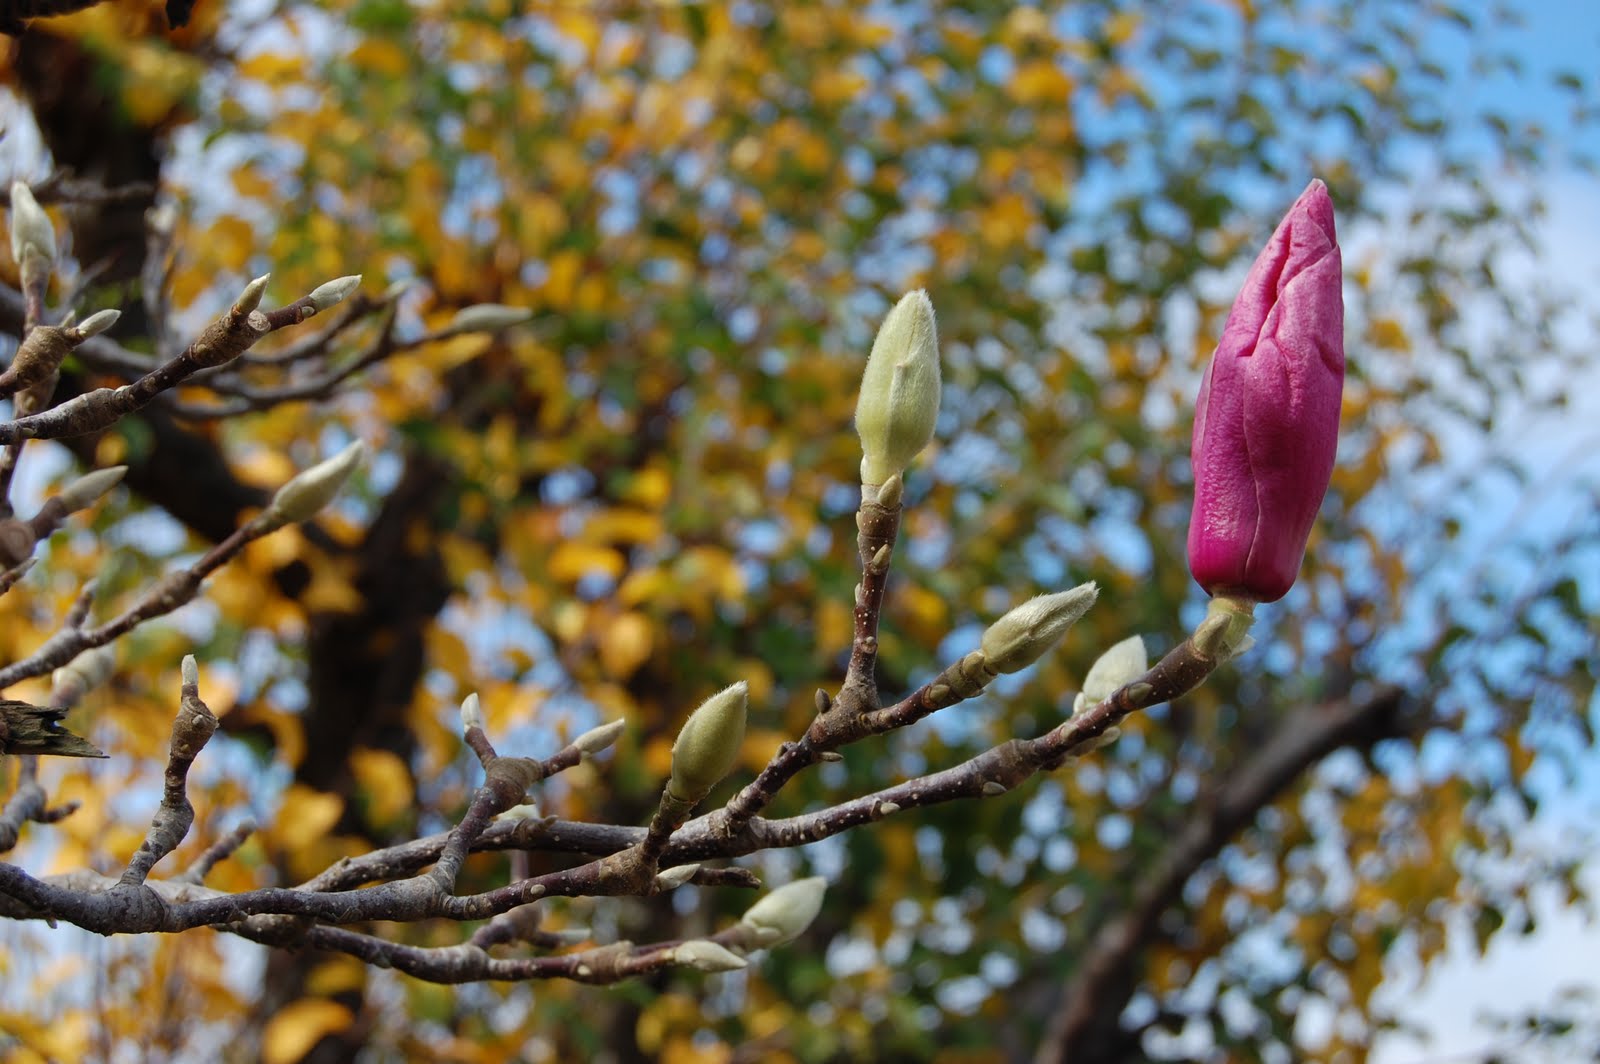
There are already two trees in the back of the garden: a deciduous magnolia and an ornamental lemon. While I was lazing about in between weeding this weekend, I stared off into space in the tree's general area and noticed that a few of the blossoms are starting to open!


There are three or four buds nearly ready to open. In fact, I checked again briefly last night and this bud had open about 2 1/2 inches at the top. I'm glad to see that the drought stress inflicted on it during probably the last 5 years hasn't injured it too much. Last year, I saw beautiful blossoms in March, when I first saw the house, but forgot to take pictures so I still don't know what type of magnolia this is. Once I get some fully opened blossoms I'll probably be able to finally identify it. At first, we weren't sure if we'd want to keep the magnolia, as it isn't in the best of shape but I think if it survives our restorative pruning, we'll keep it. What do I mean? Well here are the biggest problems with the tree:


One of these took care of itself (kinda?). The lower rotted limb just fell off when I touched it one time. It did leave a rotted hole in the trunk like the one in the middle of the picture though. Obviously there used to be a branch there, where it went nobody knows. Then, there's the crossing branch in between the two main trunks. We finally bought a reciprocating saw this weekend, via Craigslist ($50! At home depot, the exact same one for $149.99) so we took care of that and a couple of crossing branches above. What to do about the rotting holes, no clue...

But on the subject of trees and pruning, we did something else this weekend that is probably... not so good... So our Lemon tree! Wonderful lemons, even last week we picked two for cooking, but the body of the tree is about beyond repair. Originally it looked like this from one angle:


After some basic pruning, there was this:


And as we didn't have a reciprocating saw yet, we left some stumps on the tree to clean up later. This Sunday, we started at it. Sawing off those bits first and the ends of some rather less stable look limbs and branches that shot off into the canopy 6 feet... and we kinda... didn't stop.... By the end of the day we had this:


Now, we didn't just go crazy with saw rage. Patrick and I were talking it through, trying to find what was best for the tree... But all we could conclude is that no matter what cuts we make, if we thin out the canopy and cut the ends of branches to promote stronger growth, there would still be a very unstable base structure. For example, the front right branch we cut off extended another 4 feet out from the trunk at a very low angle and then had a very heavy canopy depending on it. If we cut back just the top growth of that limb, it would grow back and become thicker and heavier than before, eventually causing the limb to snap at the trunk. So we cut it to short enough a length that the limb, at that angle, should still be able to support new growth year after year. We had to do the same for two other limbs... obviously...

The final step will be to commit the biggest pruning sin ever... topping the tree... We're planning on cutting it just below the horrible knot you can see if you look closely at the second picture I posted. As this is a citrus tree, something that is very often pruned hard, and it's already in very bad condition, I think this is the only way to help it. I can't be sure what the previous owners did to this tree over the years, but I think it was topped before right where that knot has formed. I think as long as I carefully thin the new growth, selecting the branches growing in the best directions, I think it will become better than before. It has to, heh.

So, it will be topped.

Monday, November 29, 2010

Modernizing

Almost two weeks ago now, we finally got a kitchen floor. So simple and such a pain to be without. Although I've already had to get on my hands and knees to clean up dirty little footprints left by one of our new kittens.

We've been in the house since July but the floor so far has been the bare floorboards left after the men took out the old grimy brown and orange linoleum.


Imagine the loose plywood in the bottom bit of the picture removed and that has been our floor. The bare redwood planks wouldn't have been too bad but the men only removed about half of the papery substance stuck to the floor beneath the old linoleum (just one of many shortcomings I've found, sigh). But now we have shiny new linoleum floor in a much more pleasing, mostly white pattern with black accents. I asked for checkerboard black and white but it wasn't in stock Still, installed, this looks very nice.


Try not to be critical of the mess, Patrick and I made separate dinners the night I took this - twice the mess. And I don't think I'll post the picture that shows the majority of the mess in the other corner of the kitchen.

So the next step we took to modernize the house took about all of Friday. But first, we decided on a bit of a whim Wednesday night that we needed a proper workspace to prepare Thanksgiving dinner for ourselves and my brother so we went to Ikea to buy the kitchen island we've been craving for at least the last two months. However... after spending a good hour there, we go in the warehouse to claim the 3 boxes for it and find it's sold out (very angry...).

And well, thwarted in our fun spending, we were considering going back to Ikea on Friday but with the nearly freezing temperatures we've woken up to inside our house in the last two weeks, we thought... better idea! Insulation! I had told my coworker last week that we had absolutely no insulation and her incredulous stare and repeated "Really!?" got me thinking... maybe Abel didn't say no insulation... so I asked Patrick to get on the ladder and look up there Wednesday night.


On the plus side, don't our rafters look nice and strong. So on Friday we went to Home Depot, very glad to find out that the insulation blowing machine was available and we bought 10 bags of fluffy pink fiberglass blow-in. With 10, just enough for R25 to R30ish through our whole attic, we got the machine for free for 24 hours too! We had to rent the Home Depot truck to get the stuff to our house but we did it in one trip and it didn't even rain so that was nice. And about 5 hours later, at least an hour and a half of that as preparation, our attic looked like this!


We put in barriers around all our pot lights and the shower vent and had to dig out the fluff that went in there anyway. Also, I was vacuuming bits of fluff that had traveled all around the house for the next two days to be sure that cats didn't try to eat anything but overall, between the two of us, it went smoothly and wasn't too difficult, only enough to make us quite sore. Patrick had the worse part of doing the blowing and crawling around the attic but my loading the machine and getting things for him was enough to make me hurt too, although maybe only half as much as him.

But it was definitely worth it. A week and a half ago, I woke up and turned on the portable heater to see it tell me that it was 39 degrees in the room. But this morning when we found ice covering our poor car outside, the bedroom before I turned on the heater was 47. Doesn't sound great but I'll take those 10 extra degrees if I can have it! In a few months, with a bit of money saved up, maybe we'll hire some people to come blow insulation into the walls and spray the underside of the floors. Then, our house will be a cozy little oven.